It's time for this week's Sweet Sunday Sketch Challenge,
SSSC246.
This week's sketch is perfectly simple in case you need to create multiple cards. Sigh...like me. Yes, it's true. I've finally realized that I will need to mass produce some Christmas cards, and this is the sketch I'm going to use. To make the cards easier (and cheaper) for mailing I created a rectangular card.

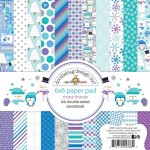
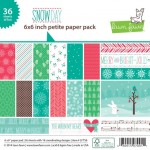
The rectangular card is also a bit of a mass production strategy too. I want to use different 6x6 patterned papers for the middle panel so I trimmed the sheets to 3x6 inches. That way I can get two cards from each sheet of patterned paper.
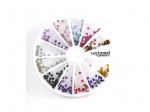
I added a few sequins to the first card for a bit of sparkle and as an extra touch I dotted the centers with Tiny Twinkles.
I bought a couple of new blue shades from Simon Says Stamp and Audrey Blue works perfectly with the two collections of patterned paper I'm using: Lawn Fawn Snow Day and Doodlebug Frosty Friends.
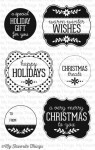
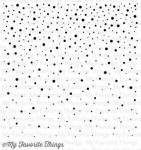
My second card is a little more whimsical with the adorable snowmen in the background.
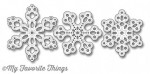
Instead of sequins, which would have taken away from the snowmen, I added a purple Tiny Twinkle to the snowflake under the sentiment.
Now I need to get moving and create a bunch more cards like these.
I hope you'll play along with this week's sketch and link your creation on
Karen's blog. Now it's time to hop around and see what the rest of the Sweet Sunday Stampers created.
Barbara Anders
Dana White
Jackie Pedro
Jenny Peterson
Jodi Collins
Lisa Henke
Lori Tecler
Lynn Put
Sarah-Jane Kalé
Tracy Clemente
Vicki Burdick
and
Karen Giron
Here are the supplies I used:
Thanks for stopping by!
Karen